Walks & Gear · 3 min read
How to Fit a No-Pull Harness
A harness only works if it fits. Measure, adjust and check in five calm steps.
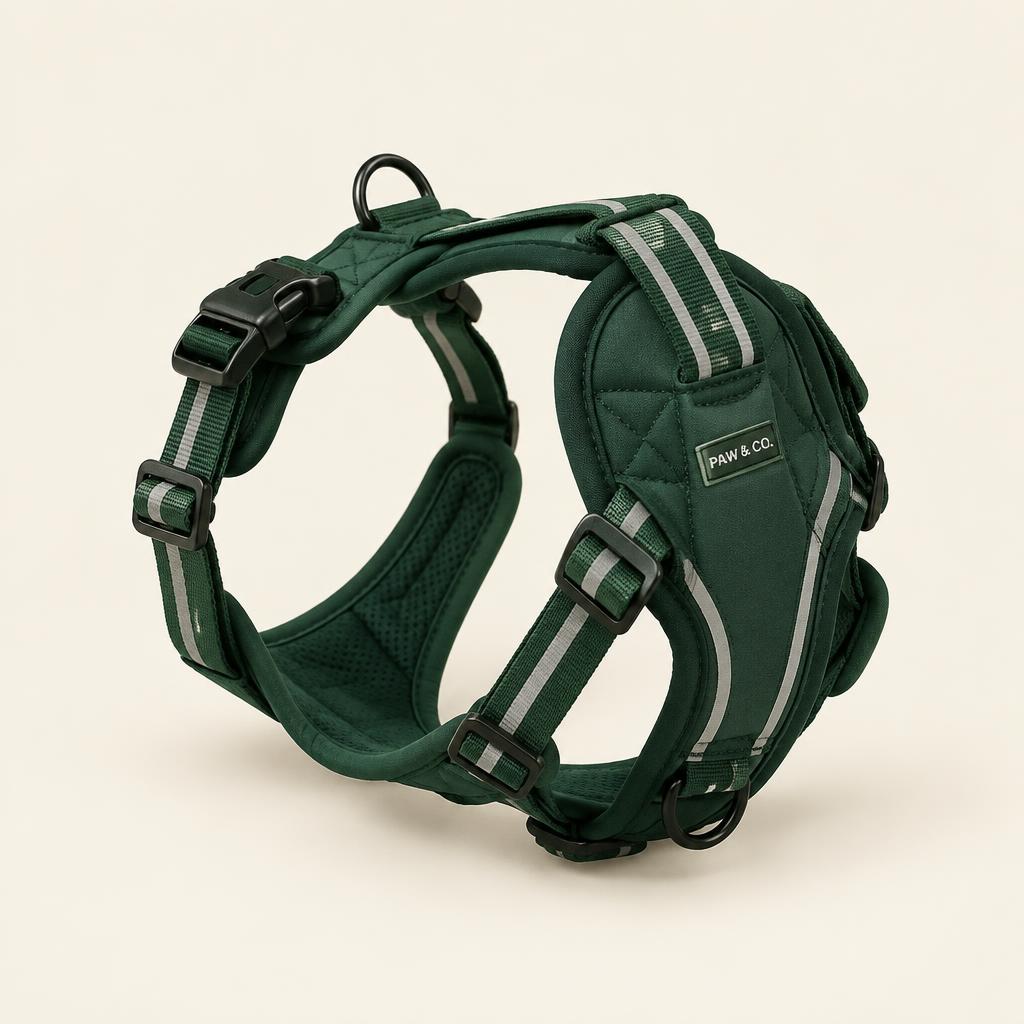
A no-pull harness can make walks calmer and more comfortable — but only if it fits well. A harness that's too loose can slip or let a dog back out of it. Too tight, and it can rub or restrict movement. The good news is that getting the fit right takes about ten minutes, a soft tape measure and a few treats.
This guide walks through measuring, choosing a size, adjusting the straps and checking the fit. It's written with our No-Pull Reflective Harness in mind, but the same principles apply to most front-clip harnesses.
How no-pull harnesses work
Most no-pull harnesses have a leash clip on the chest. When your dog pulls forward, the leash gently turns them back toward you rather than letting them lean their full weight into it. It's a helpful tool, not a magic fix — pairing it with rewards for walking nicely is what builds a lasting habit.
Many also have a back clip for relaxed walks or for attaching a car tether. The front clip is the one that helps most with pulling.
Step 1: Measure your dog
Use a soft fabric tape measure. Have your dog standing on all four feet, ideally with someone helping with treats.
Chest girth: wrap the tape around the widest part of the ribcage, just behind the front legs. This is the most important measurement. Neck: measure around the base of the neck, where a collar would naturally sit. Write both numbers down.
Step 2: Choose the size
Compare your measurements to the size chart on the product page. Choose by chest girth first. If your dog falls between two sizes, size up and use the adjusters to tighten — it's easier to take in a harness than to stretch one. Weight ranges are a rough guide only. Two dogs of the same weight can have very different shapes.
Step 3: Introduce it positively
Before putting it on, let your dog sniff the harness and give a treat. Hold the neck opening open and lure your dog's head through with a treat rather than pulling it over. Then fasten the buckles calmly. Lots of praise. If your dog is unsure, practice this part over a few short sessions before the first walk.
Step 4: Adjust the straps
Start with all straps fairly loose, then tighten evenly on both sides so the harness sits centered. The chest strap should sit on the breastbone, not up on the throat. The side straps should sit a few inches behind the front legs so they don't rub the armpits.
Use the two-finger rule: you should be able to slide two flat fingers under any strap comfortably, but not fit your whole hand. Check the neck opening too — it should be snug enough that the harness can't slide over your dog's head when they back up.
Step 5: Check it in motion
Walk your dog around the house or yard. Watch their shoulders and front legs: they should move freely, with no straps cutting across the shoulder joint. Gently pull backward on the harness as if your dog were trying to back out — it should stay put.
After the first few walks, check for redness or fur loss under the straps, especially behind the front legs. Readjust if needed. Puppies and growing dogs need regular checks as they grow.
Pair the harness with training
Reward your dog with a treat when the leash is loose. If they pull, stop and wait for slack, then continue. Keep sessions short and positive. Over time, the harness plus consistent rewards add up to genuinely calmer walks.
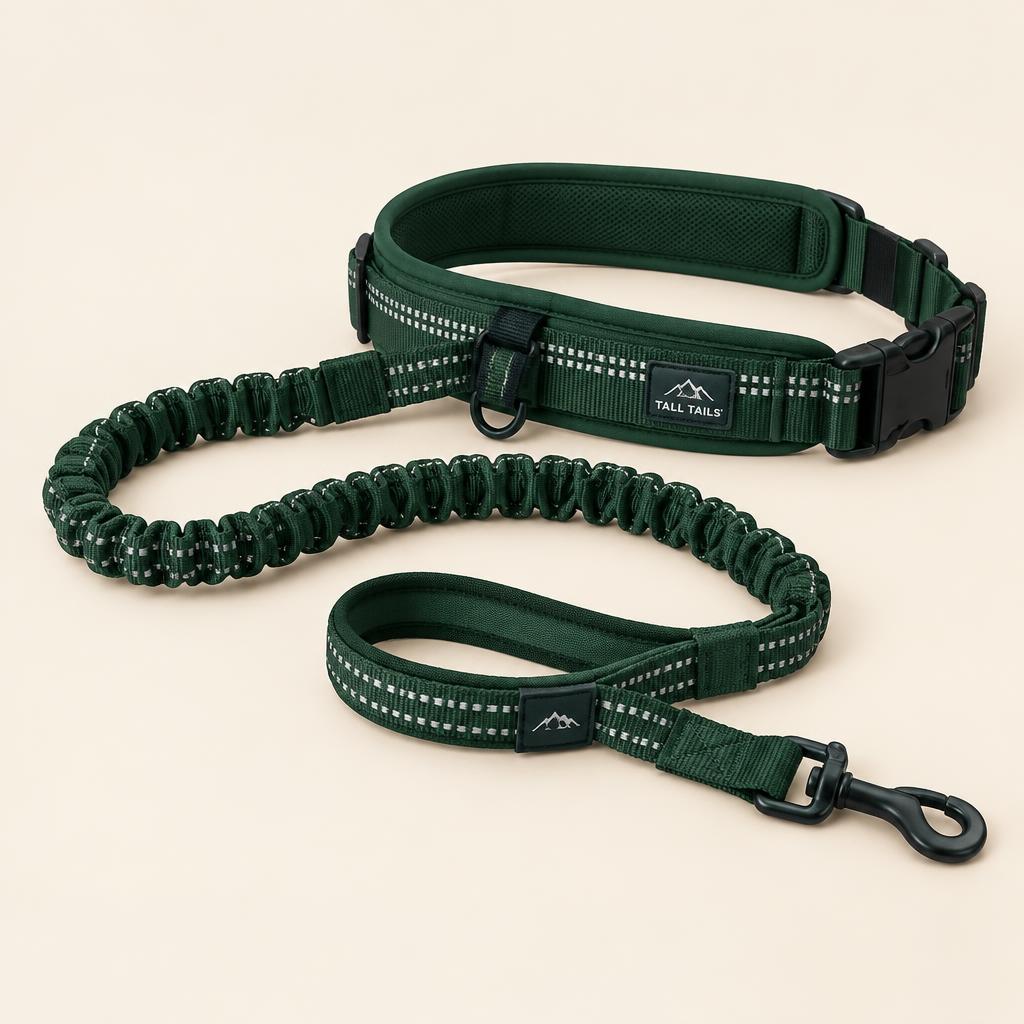
For runners and hikers, a hands-free bungee leash clipped to the back of the harness absorbs small tugs and keeps your hands free. For evening walks, add an LED collar so you're both easy to see — the Winter Walk Gear Checklist has more visibility tips.
Quick fit checklist
Chest strap on the breastbone. Side straps behind the front legs. Two fingers under every strap. Shoulders move freely. Can't back out. Check again after a week. That's it — a good fit makes for a comfortable dog and a much nicer walk.
General tips from the TidyTails team, not veterinary advice. If you're worried about your dog's health or behavior, check in with your vet.
Make it easier
Gear for this guide